How to effectively replace a screwed composite deck board?
Wood composite decking has become extremely popular in recent years, offering an attractive and durable alternative to traditional wood decking.
One of the key advantages of screwed composite wood deck boards is that they are easy to install and replace. In this article, we’ll guide you through the steps required to change a screw-down composite deck board.
Follow these simple instructions to get your deck looking like new in no time.
-
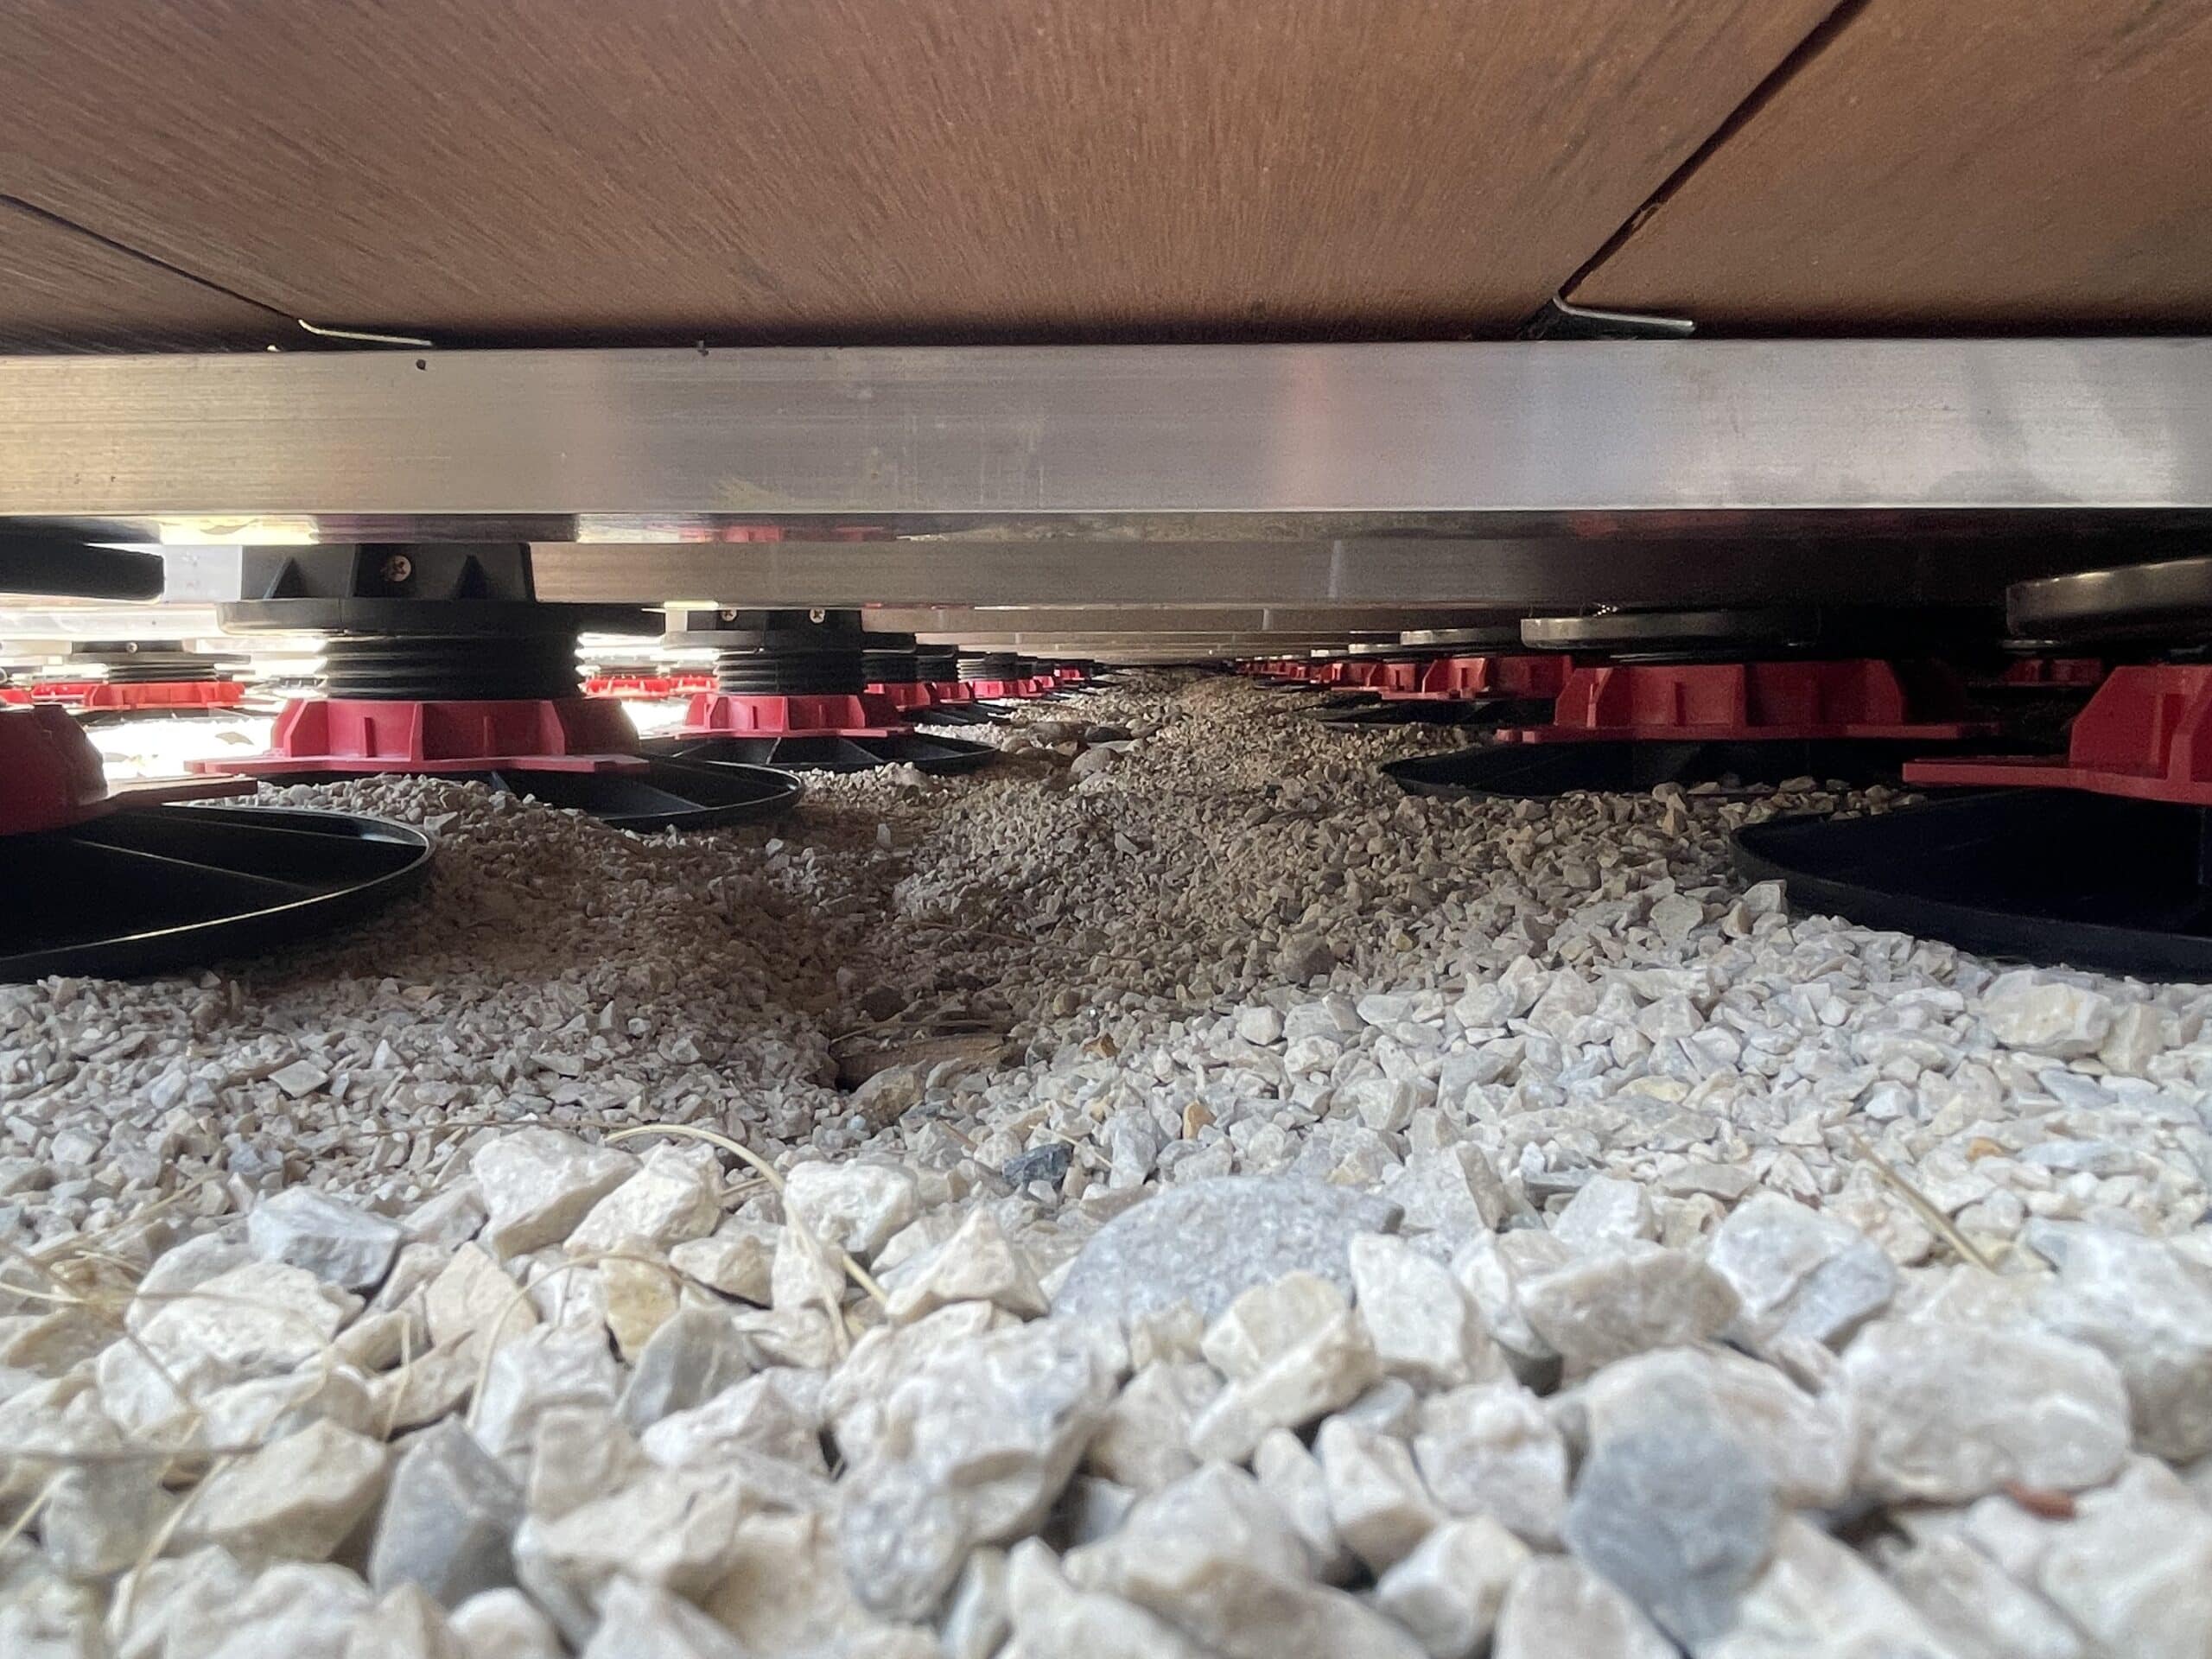
Step 1 : Preparation
Before you start replacing the deck board, make sure you have the necessary tools to hand. You’ll need a pair of pliers or a screwdriver, an electric screwdriver and a new composite wood deck board of the same color and size as the one you’re replacing.
-
Step 2: Fastener removal
Start by locating the damaged deck board. Use the pliers or screwdriver to remove the fastening clips on the left-hand side of the board, then those on the right-hand side. Be sure to remove all screws so that the new board can be installed correctly. Keep them to one side.
-
Step 3: Removing the blade
Using a screwdriver or electric screwdriver, slide each clip along the board, pushing them all in after the board (if you detach them from the groove, it will be very hard to put them back in).
Make sure that all the clips are no longer slid into the board you wish to change, but into the groove of the adjacent board.
Push the board to one side, then tilt it to remove it. There’s now an empty space.
-
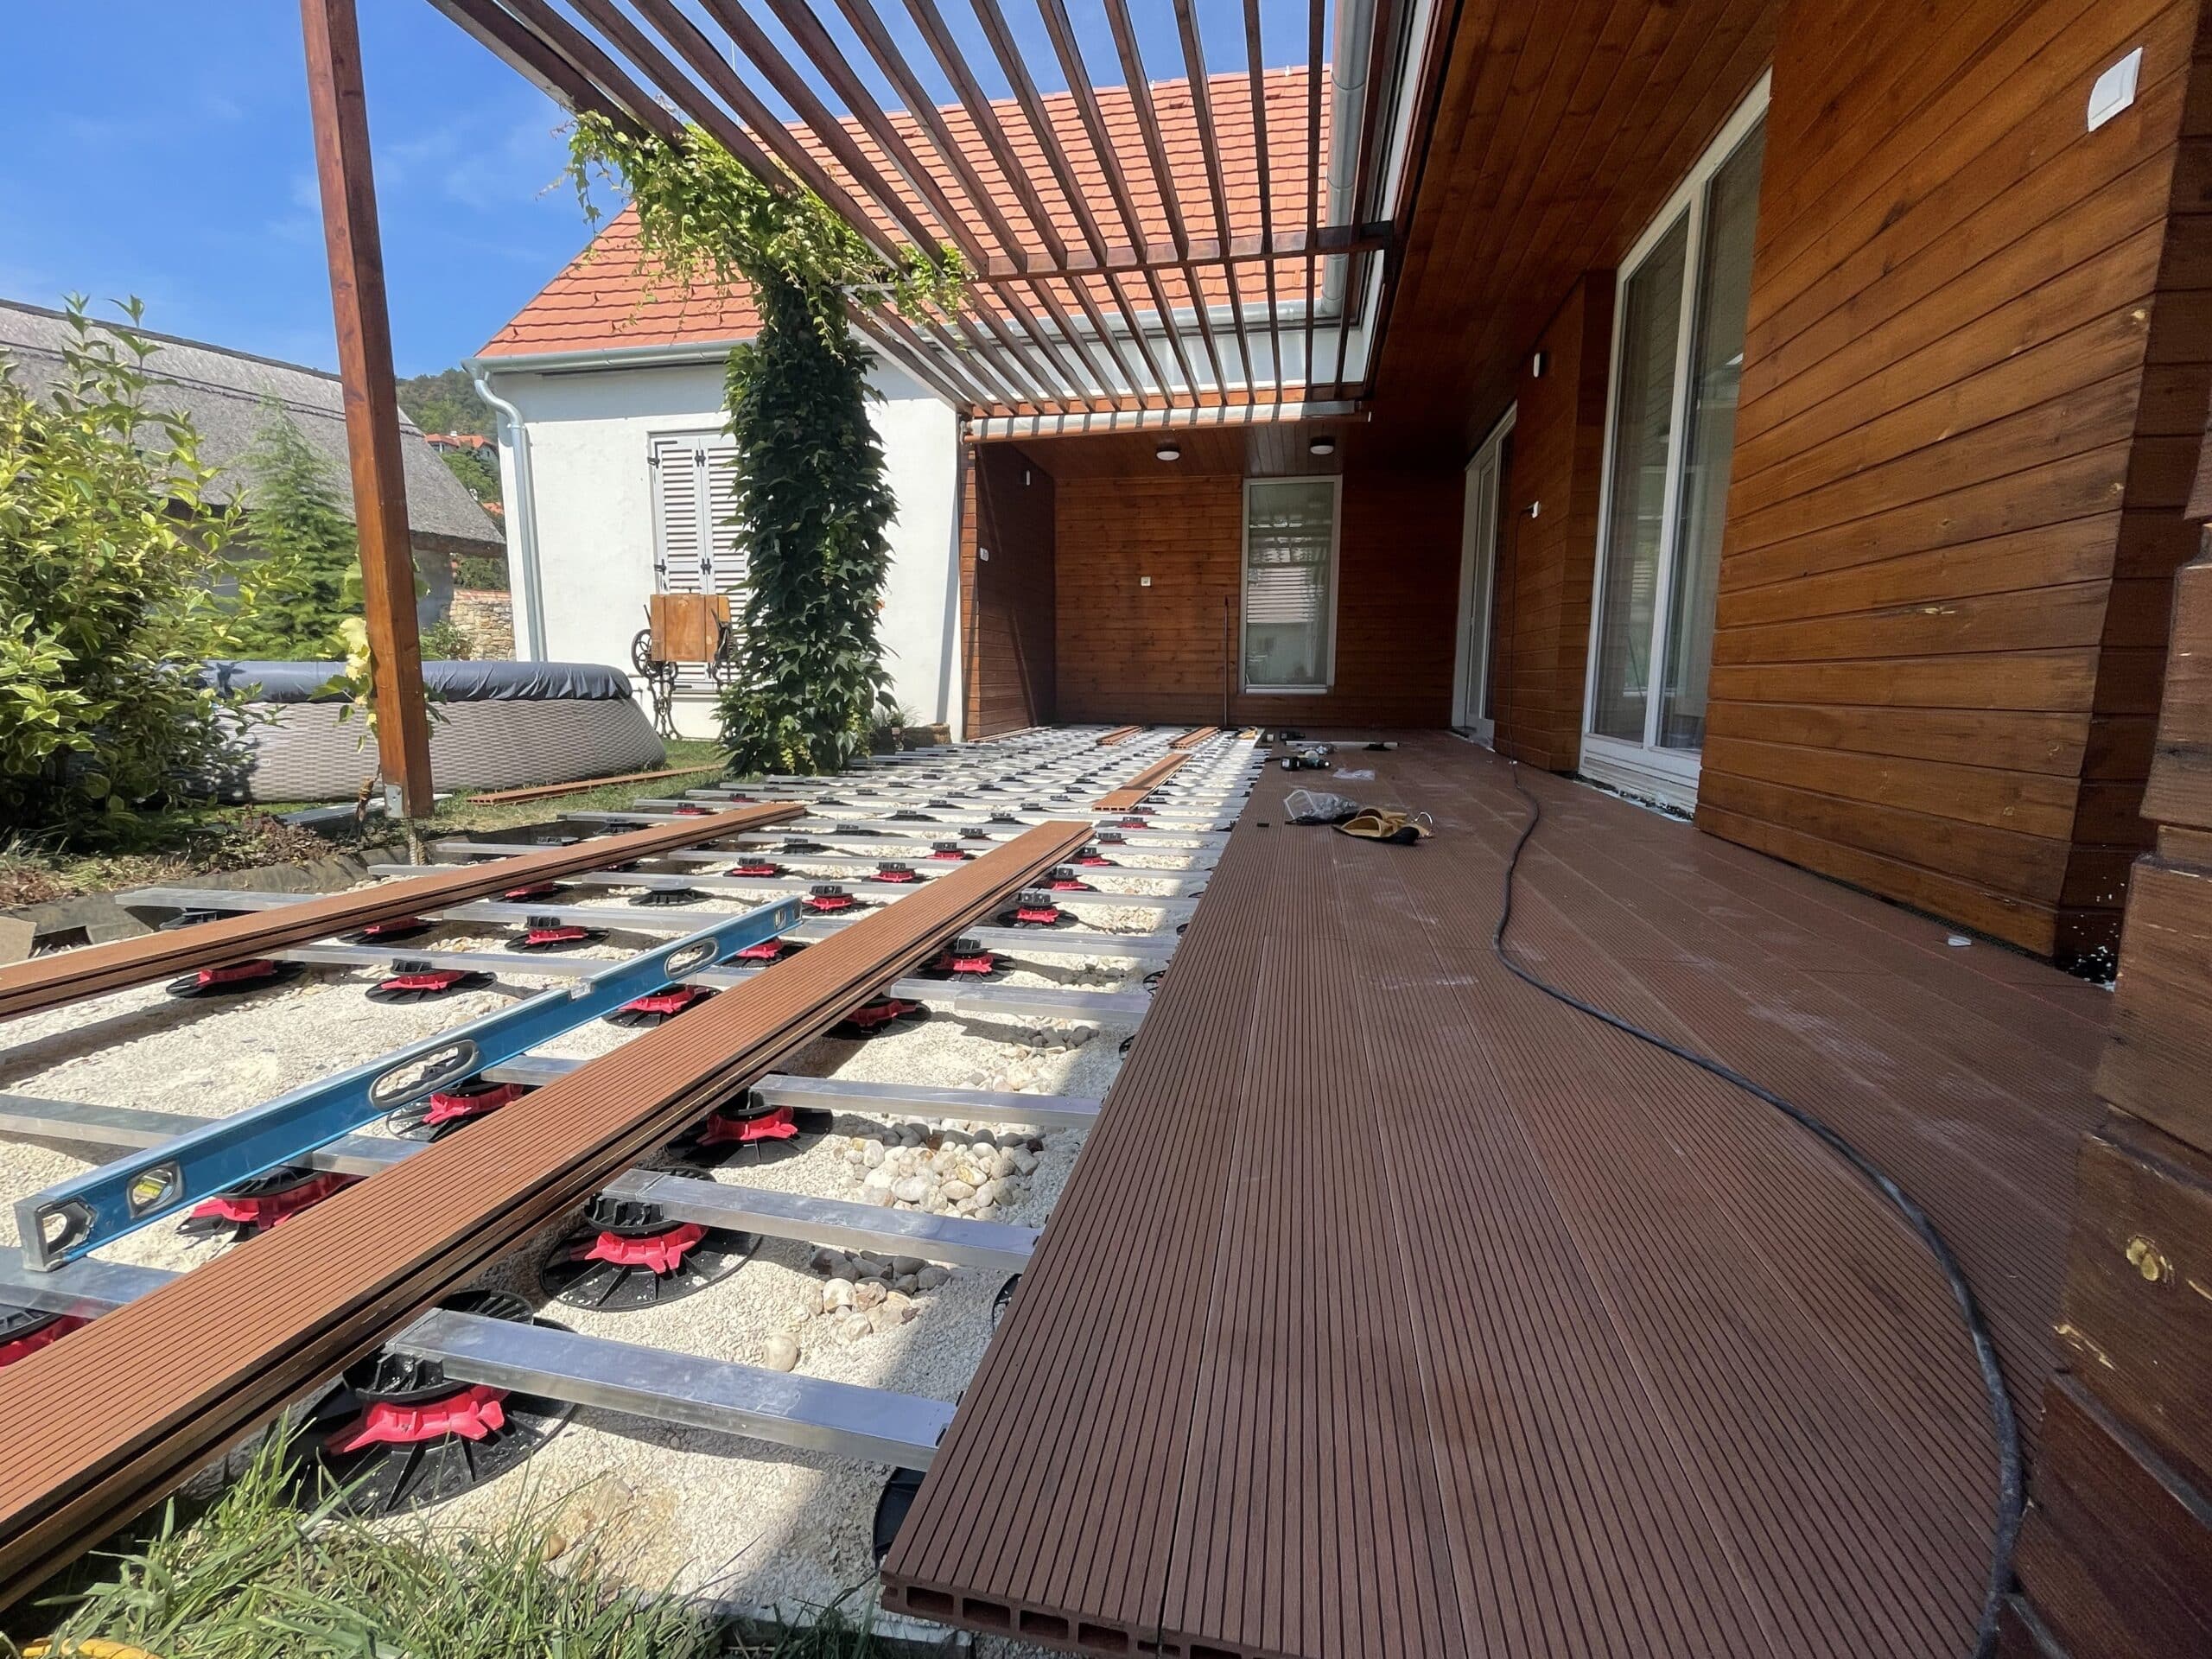
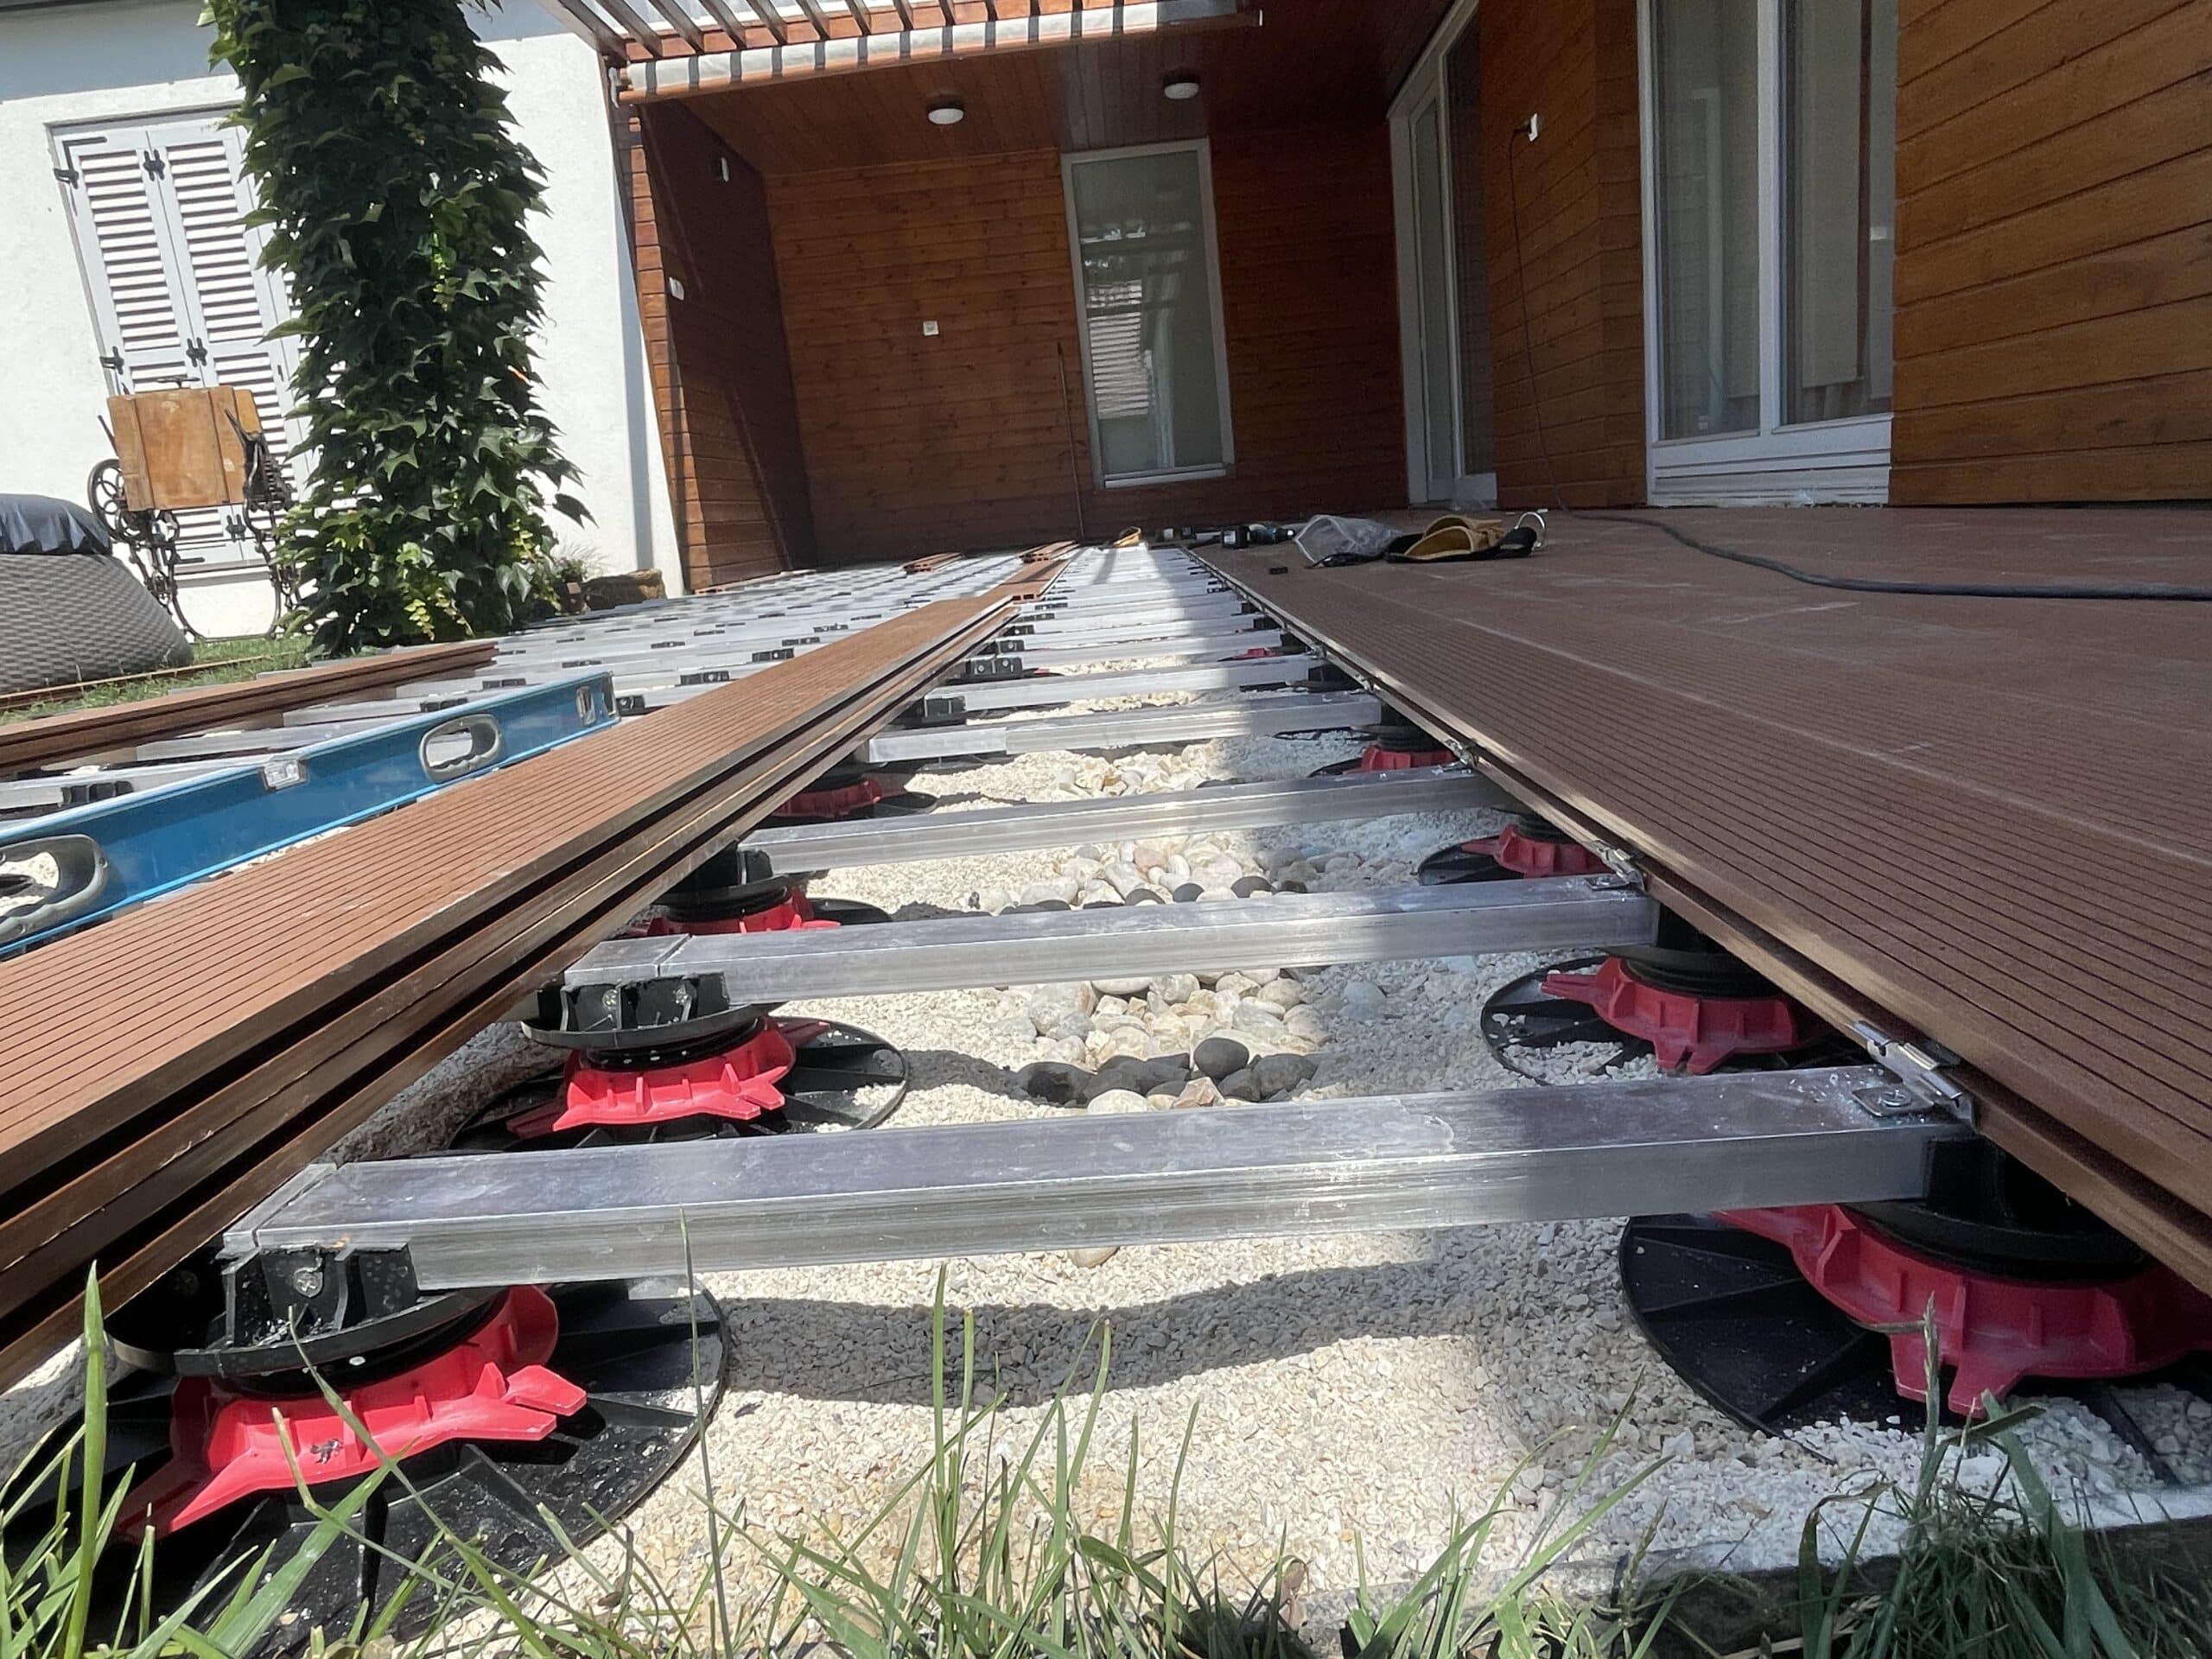
Step 4: Preparing the new blade
Before installing the new deck board, make sure it is the same color and size as the existing boards. Place the new board next to the empty space to check the fit. If necessary, use a jigsaw to adjust the length of the board.
-
Step 5: Installing the new blade
Insert the new deck board in place of the old one, making sure it fits correctly into the adjacent boards. Make sure that the board is perfectly aligned with the other boards and that it is securely fastened. Slide the clips back into the board grooves to reposition them in their original position.
-
Step 6: Attaching the new blade
Once the board is properly positioned, use the electric drill to attach the fastening clips to the edges of the new board. Be sure to follow the manufacturer’s instructions on proper clip spacing. Be sure to tighten the screws or nails so that the blade is securely fastened to the support.
Step 7: Checking and finishing
Once the new board is correctly fastened, check the overall appearance of the deck. Make sure the new board is properly aligned with the other boards, and that there are no visible gaps or misalignments. Don’t forget to clean it with a high-pressure jet and spray it with antifoam.
Conclusion
Changing a clipped composite deck board is a relatively simple task if you follow the steps described above carefully. Make sure you use the appropriate tools and choose a new deck board of the same color and size. By following this professional method, you’ll be able to keep your deck in good condition and looking like new again in no time.
Enjoy your beautiful wood composite deck and appreciate its aesthetics and durability for years to come!


