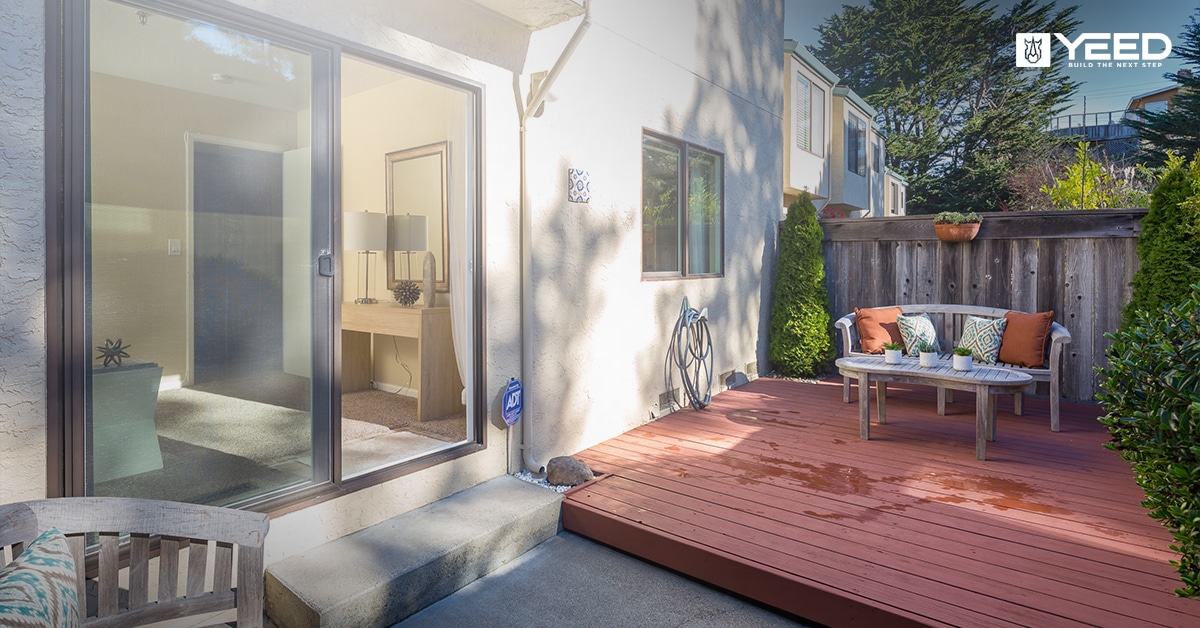
Reparing the ground for a terrace on blocks
Looking for a terrace on blocks? Preparing the floor is an essential step in ensuring its durability and stability. Before getting started, it’s crucial to understand the steps required for a well-prepared floor. Here are the essential steps:
- Clean and stabilize the ground
- Level the ground by about 15 cm
- Install geotextile to prevent weeds from growing
- Add a draining sub-base
- Compact the soil to ensure a solid base
Follow these practical tips to make a success of your terrace on plots, whether you opt for joists, timbers or slabs.
Choosing the right materials for a stable deck
Selecting the right materials is a crucial step in ensuring the stability and durability of your decking. Here are a few tips to help you make the right choice:
Adjustable blocks: flexibility and adaptability
Adjustable blocks are essential to compensate for uneven ground and guarantee a level surface. Their adjustable height allows you to adapt to different slopes and ground constraints. They offer great flexibility and simplify installation.
Studs for different surfaces
- Wood decking blocks: These blocks are designed to support wooden joists. They ensure even weight distribution and provide ventilation under the deck, prolonging the life of the wood.
- Pads for slab decks: These pads are specially designed for slab decks. They feature adjustable heads that adapt to slab dimensions, ensuring stable, secure installation.
Quality materials: durability and resistance
Opt for studs made from weather- and UV-resistant materials such as polypropylene. This type of material guarantees a long service life and greater resistance to outdoor conditions.
Additional accessories
For optimum installation, don’t forget complementary accessories such as leveling wedges, cross braces for slabs and fastening clips for joists. These elements ensure safe, durable installation.
Create a suitable slope for drainage
A well-designed slope is essential to ensure effective drainage of your decking. Here’s how:
Assess and prepare the site
Start by assessing the natural slope of your land. A slope of 1 to 2% is generally sufficient to allow water to run off, which equates to a difference of 1 to 2 cm per meter. If the ground is flat, it may be necessary to create this slope manually.
- Cleaning and levelling: Clean the surface of all debris and roughly level the ground. Remove stones, roots and other obstacles that could disturb the slope.
- Slope calculation: Use a spirit level and ruler to mark the required slope. A laser can also be useful for precise measurements.
Techniques for creating the slope
There are several ways to create the right slope:
- Adding filler: Use gravel or sand to form a slope. Spread the material evenly and compactly to create a stable base. Crushed gravel is particularly effective, providing good drainage and a solid base.
- Earthworks: If your terrain is too uneven, earthworks may be necessary to shape the slope. This may require specialized equipment, such as a mini-excavator.
Using self-levelling blocks
Self-levelling blocks can be a practical solution for correcting small slopes. These blocks are equipped with a pivoting head that can compensate for ground irregularities of up to 5%. They simplify installation and ensure a level surface while maintaining the slope required for drainage.
Installation and testing
Once the slope has been created, install the studs following the slope of the ground. Make sure each stud is level with the others to avoid water retention zones. Once the studs have been installed, check the overall slope with a spirit level or laser to ensure that water will run off properly.
- Laying the joists or slabs: Place the joists or slabs on the blocks, following the slope. Make sure the entire structure follows the slope established for drainage.
- Drainage test: Before finalizing the installation of the terrace, pour water over the surface to check drainage. Adjust the studs if necessary to correct any water accumulation.
Use geotextiles and drainage foundations
The use of geotextiles and draining foundations is essential to ensure the stability and durability of your decking on blocks. Here’s why and how to use them effectively:
Geotextiles: protection and drainage
Geotextiles are permeable fabrics placed between the natural soil and the foundation layer. They serve two main purposes:
- Weed prevention: Geotextiles prevent the growth of weeds, reducing the maintenance of your decking.
- Drainage: They allow water to infiltrate while preventing the mixing of different soil layers, maintaining effective drainage.
To install a geotextile:
- Soil preparation: Ensure the soil is clean and leveled before laying the geotextile.
- Laying the geotextile: Roll out the geotextile over the entire surface of the deck, ensuring to overlap the edges by 20 cm for optimal coverage.
- Fixing: Secure the geotextile with garden staples to prevent it from moving during the installation of other layers.
Lay the blocks and install the joists or slabs
Installing the decking blocks and joists or slabs is a crucial step in ensuring the stability and longevity of your decking on blocks. Here are the detailed steps for successful installation:
Positioning the blocks
Correct positioning of the plots is essential to ensure even load distribution and terrace stability. Here’s how to do it:
- Regular spacing: Place the studs at regular intervals according to the manufacturer’s recommendations. For wood decks, joists should generally be spaced 40-60 cm apart, while for slabs, the studs are placed at the corners of each slab.
- Aligning and leveling: Use a spirit level to ensure that all studs are at the same height. Adjustable studs facilitate this step by allowing precise adjustments.
Fixing joists
For wood decks, joists are used to support the deck boards. Here’s how to install them:
- Placement on the studs: Place the joists on the heads of the studs, ensuring that they are aligned and level.
- Fixing: Fasten the joists to the blocks using suitable screws. Make sure fasteners are secure to prevent movement.
- Checking the slope: Once the joists are in place, check that the drainage slope is correct. Adjust the studs if necessary to correct any unevenness.
Installing slabs
For slab terraces, the studs must be positioned to support each slab in a stable manner. Here’s how to do it:
- Positioning the slabs: Place the slabs on the heads of the studs, ensuring that they are well positioned and level.
- Alignment: Use spacers to maintain uniform spacing between slabs, ensuring aesthetic appearance and structural stability.
- Final adjustment: Once all the tiles are in place, check the entire surface with a spirit level to ensure that it is level and that the slope for drainage is correct.
Additional tips
- Use shims: For minor height corrections, use shims under the plots or joists.
- Moisture protection: Apply a protective coating to the wooden joists to protect them from moisture and insects.
- Stability test: Walk over the entire surface of the deck to check its stability and solidity. If necessary, adjust the posts or fixings.
By following these steps, you’ll ensure professional, long-lasting installation of your decking on blocks. To discover our full range of products and get personalized advice, visit our YEED website.